Figma 101: A Beginner’s Guide from an Adobe User’s Perspective
As a designer, I’m no stranger to the Adobe Creative Suite. But Figma? That was always the tool I heard people raving about but never actually used myself. I knew it was popular for its collaborative features and ease of use, but I’d never had a reason to dive in — until now.
I finally gave it a go, and in this post, I’ll share my honest first impressions, along with a simple guide for anyone else looking to get started. If you’re an Adobe user wondering whether Figma is worth the switch, or a complete beginner feeling a bit intimidated, this breakdown is for you.
First Impressions: A Surprisingly Smooth Start
The moment I opened Figma, I was struck by how clean and user-friendly it looked. If you’ve used Adobe XD, Sketch, or even Canva, you’ll find Figma’s interface refreshingly simple. The best way I can describe it? It feels like a perfect blend between Adobe Illustrator and Canva. Once you get used to where everything is, it’s incredibly easy to navigate.
Here’s a quick breakdown of the interface:
- Toolbar (Bottom): Where you’ll find essential tools—selection, frames, shapes, text, and more.
- Layers Panel (Left Side): Similar to Photoshop or Illustrator, this is where your elements are stacked.
- Properties Panel (Right Side): Adjust fonts, colours, alignment—this panel changes based on what’s selected.
- Canvas (Centre): The main workspace where all the magic happens.
Pro tip: Since Figma runs in your browser, there’s no need to download anything. However, if you prefer a smoother experience, there’s a desktop app available too. I’ve been using the browser version, and it’s been a breeze.
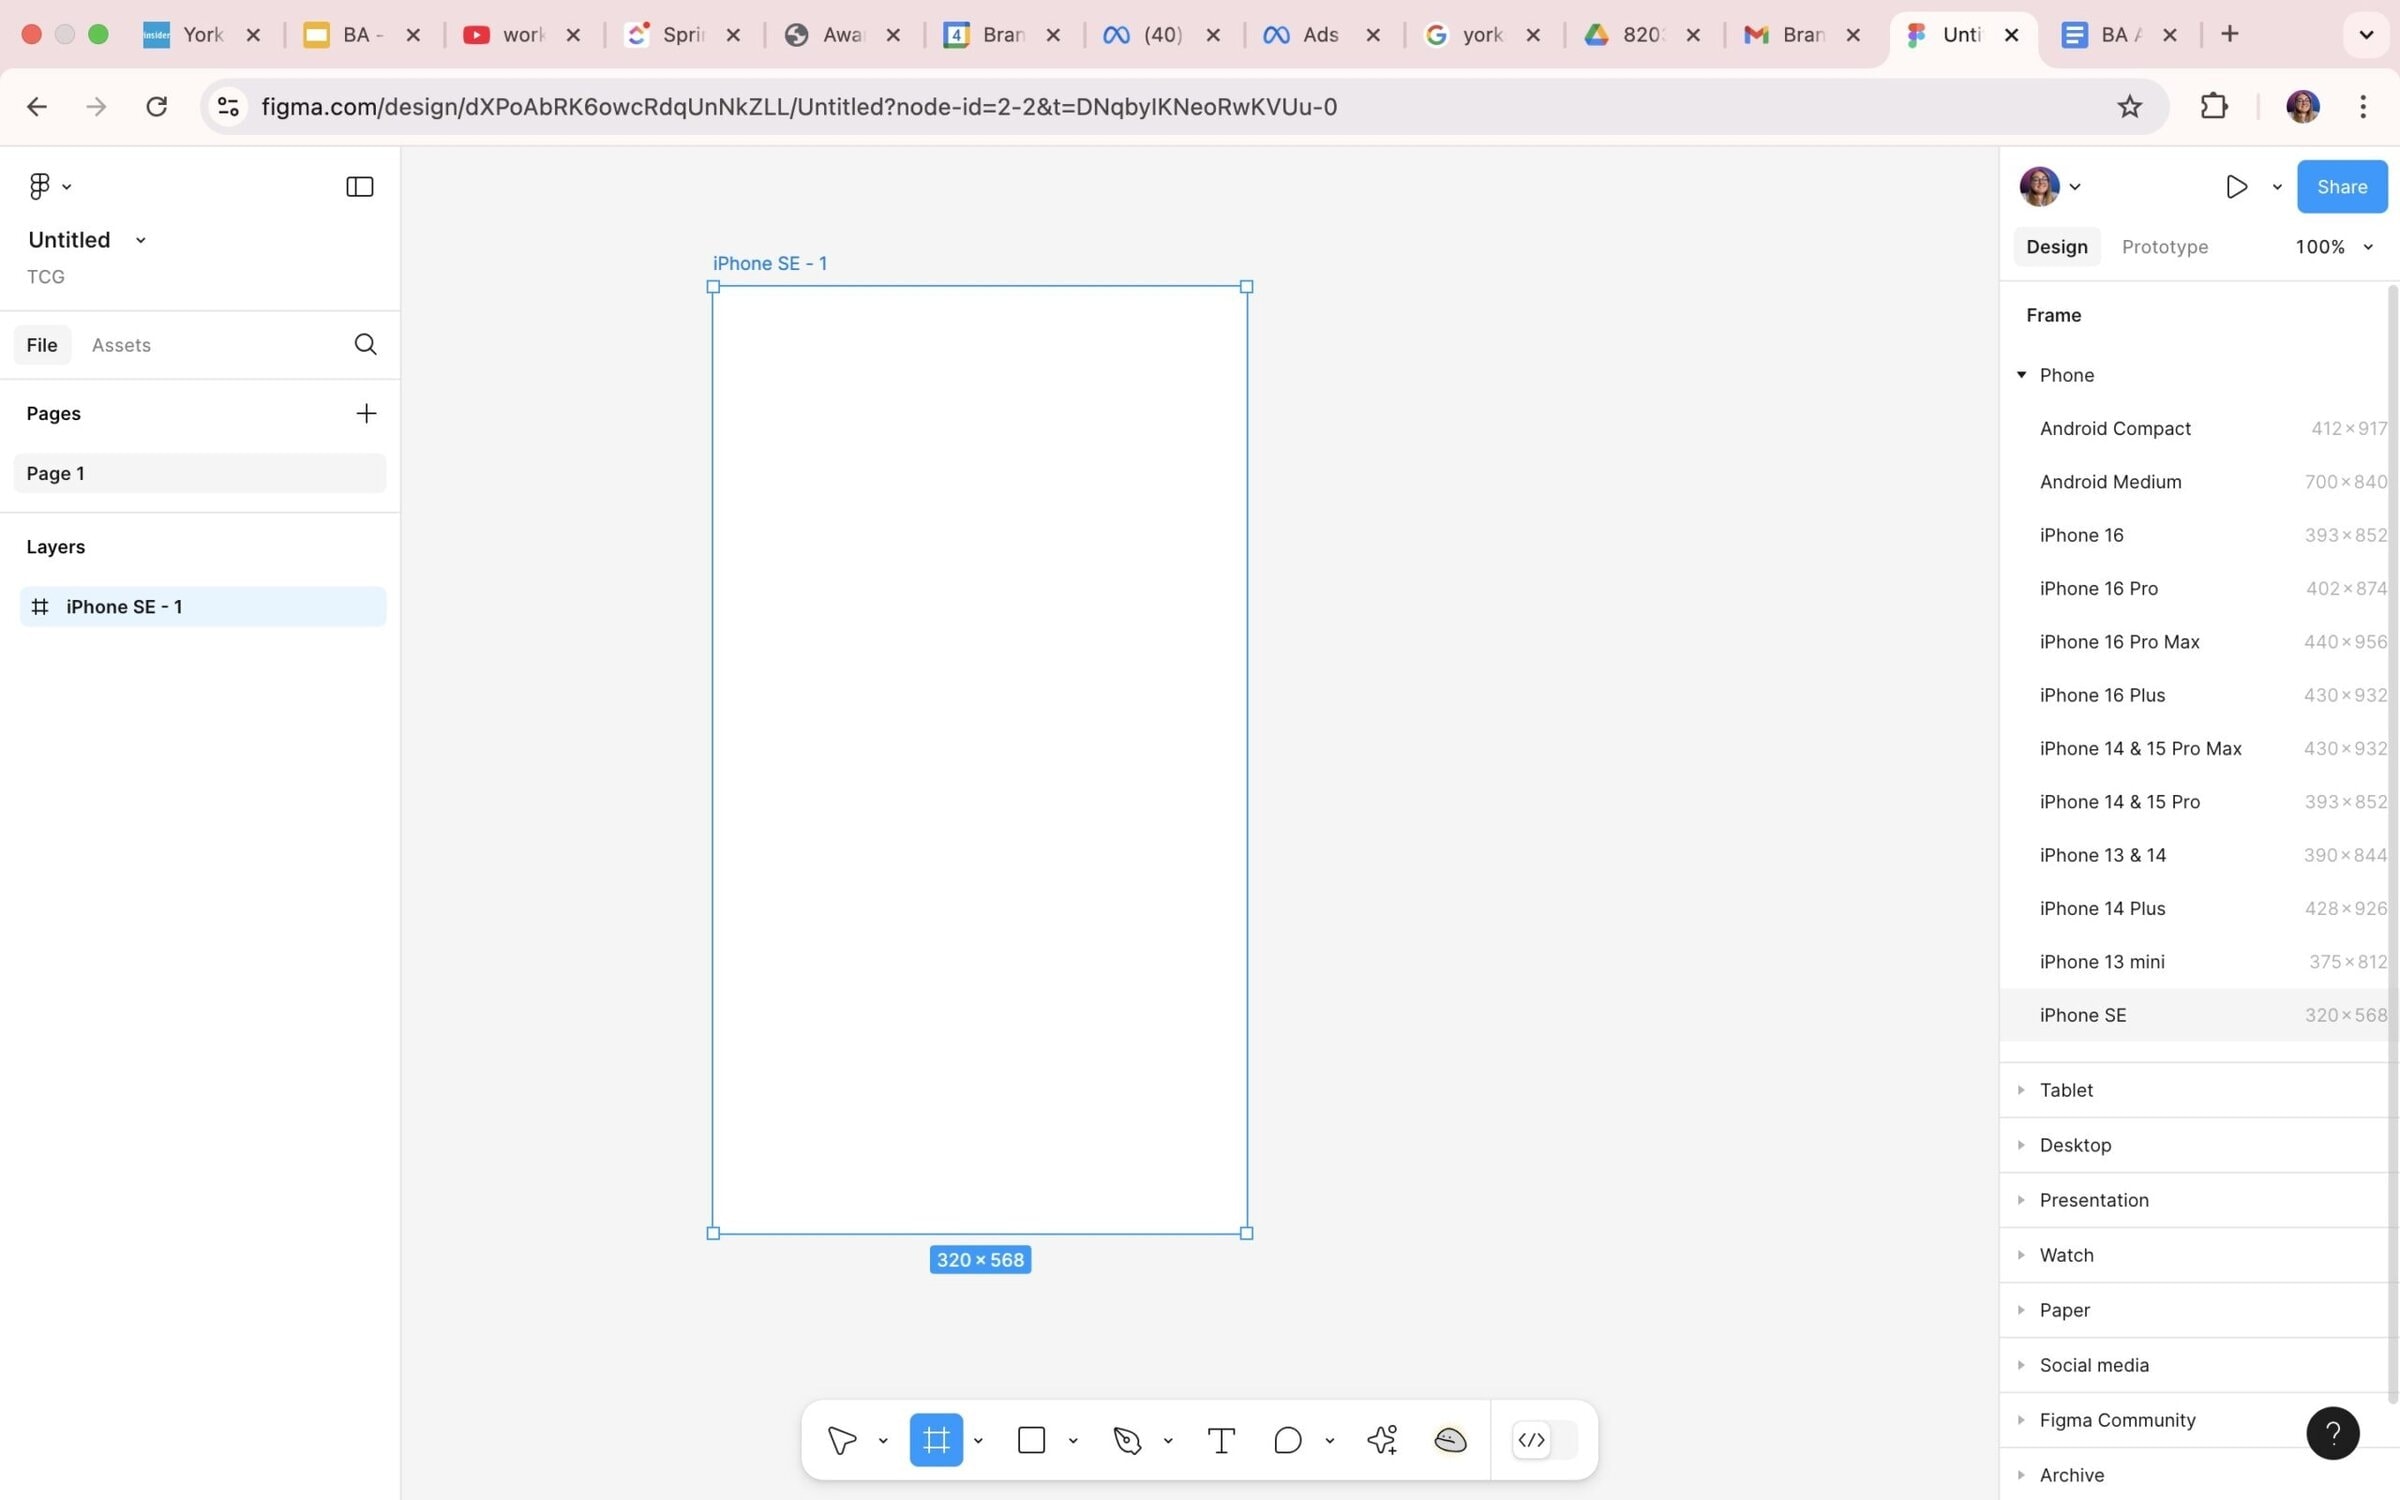
Step 1: Setting Up Your First Frame
In Figma, instead of ‘artboards’ (if you’re coming from Adobe), you use ‘frames.’ These are flexible containers that hold your designs.
Here’s how to set one up:
- Click on the Frame tool (shortcut: F).
- Choose a preset size (e.g., ‘Desktop’ or ‘iPhone 14’) or create a custom one.
And just like that, you’re ready to start designing!
If you’re working on a webpage, remember to design for multiple screen sizes. At the very least, create both a desktop and mobile version, but adding tablet and large desktop variations can make your design more polished and user-friendly.
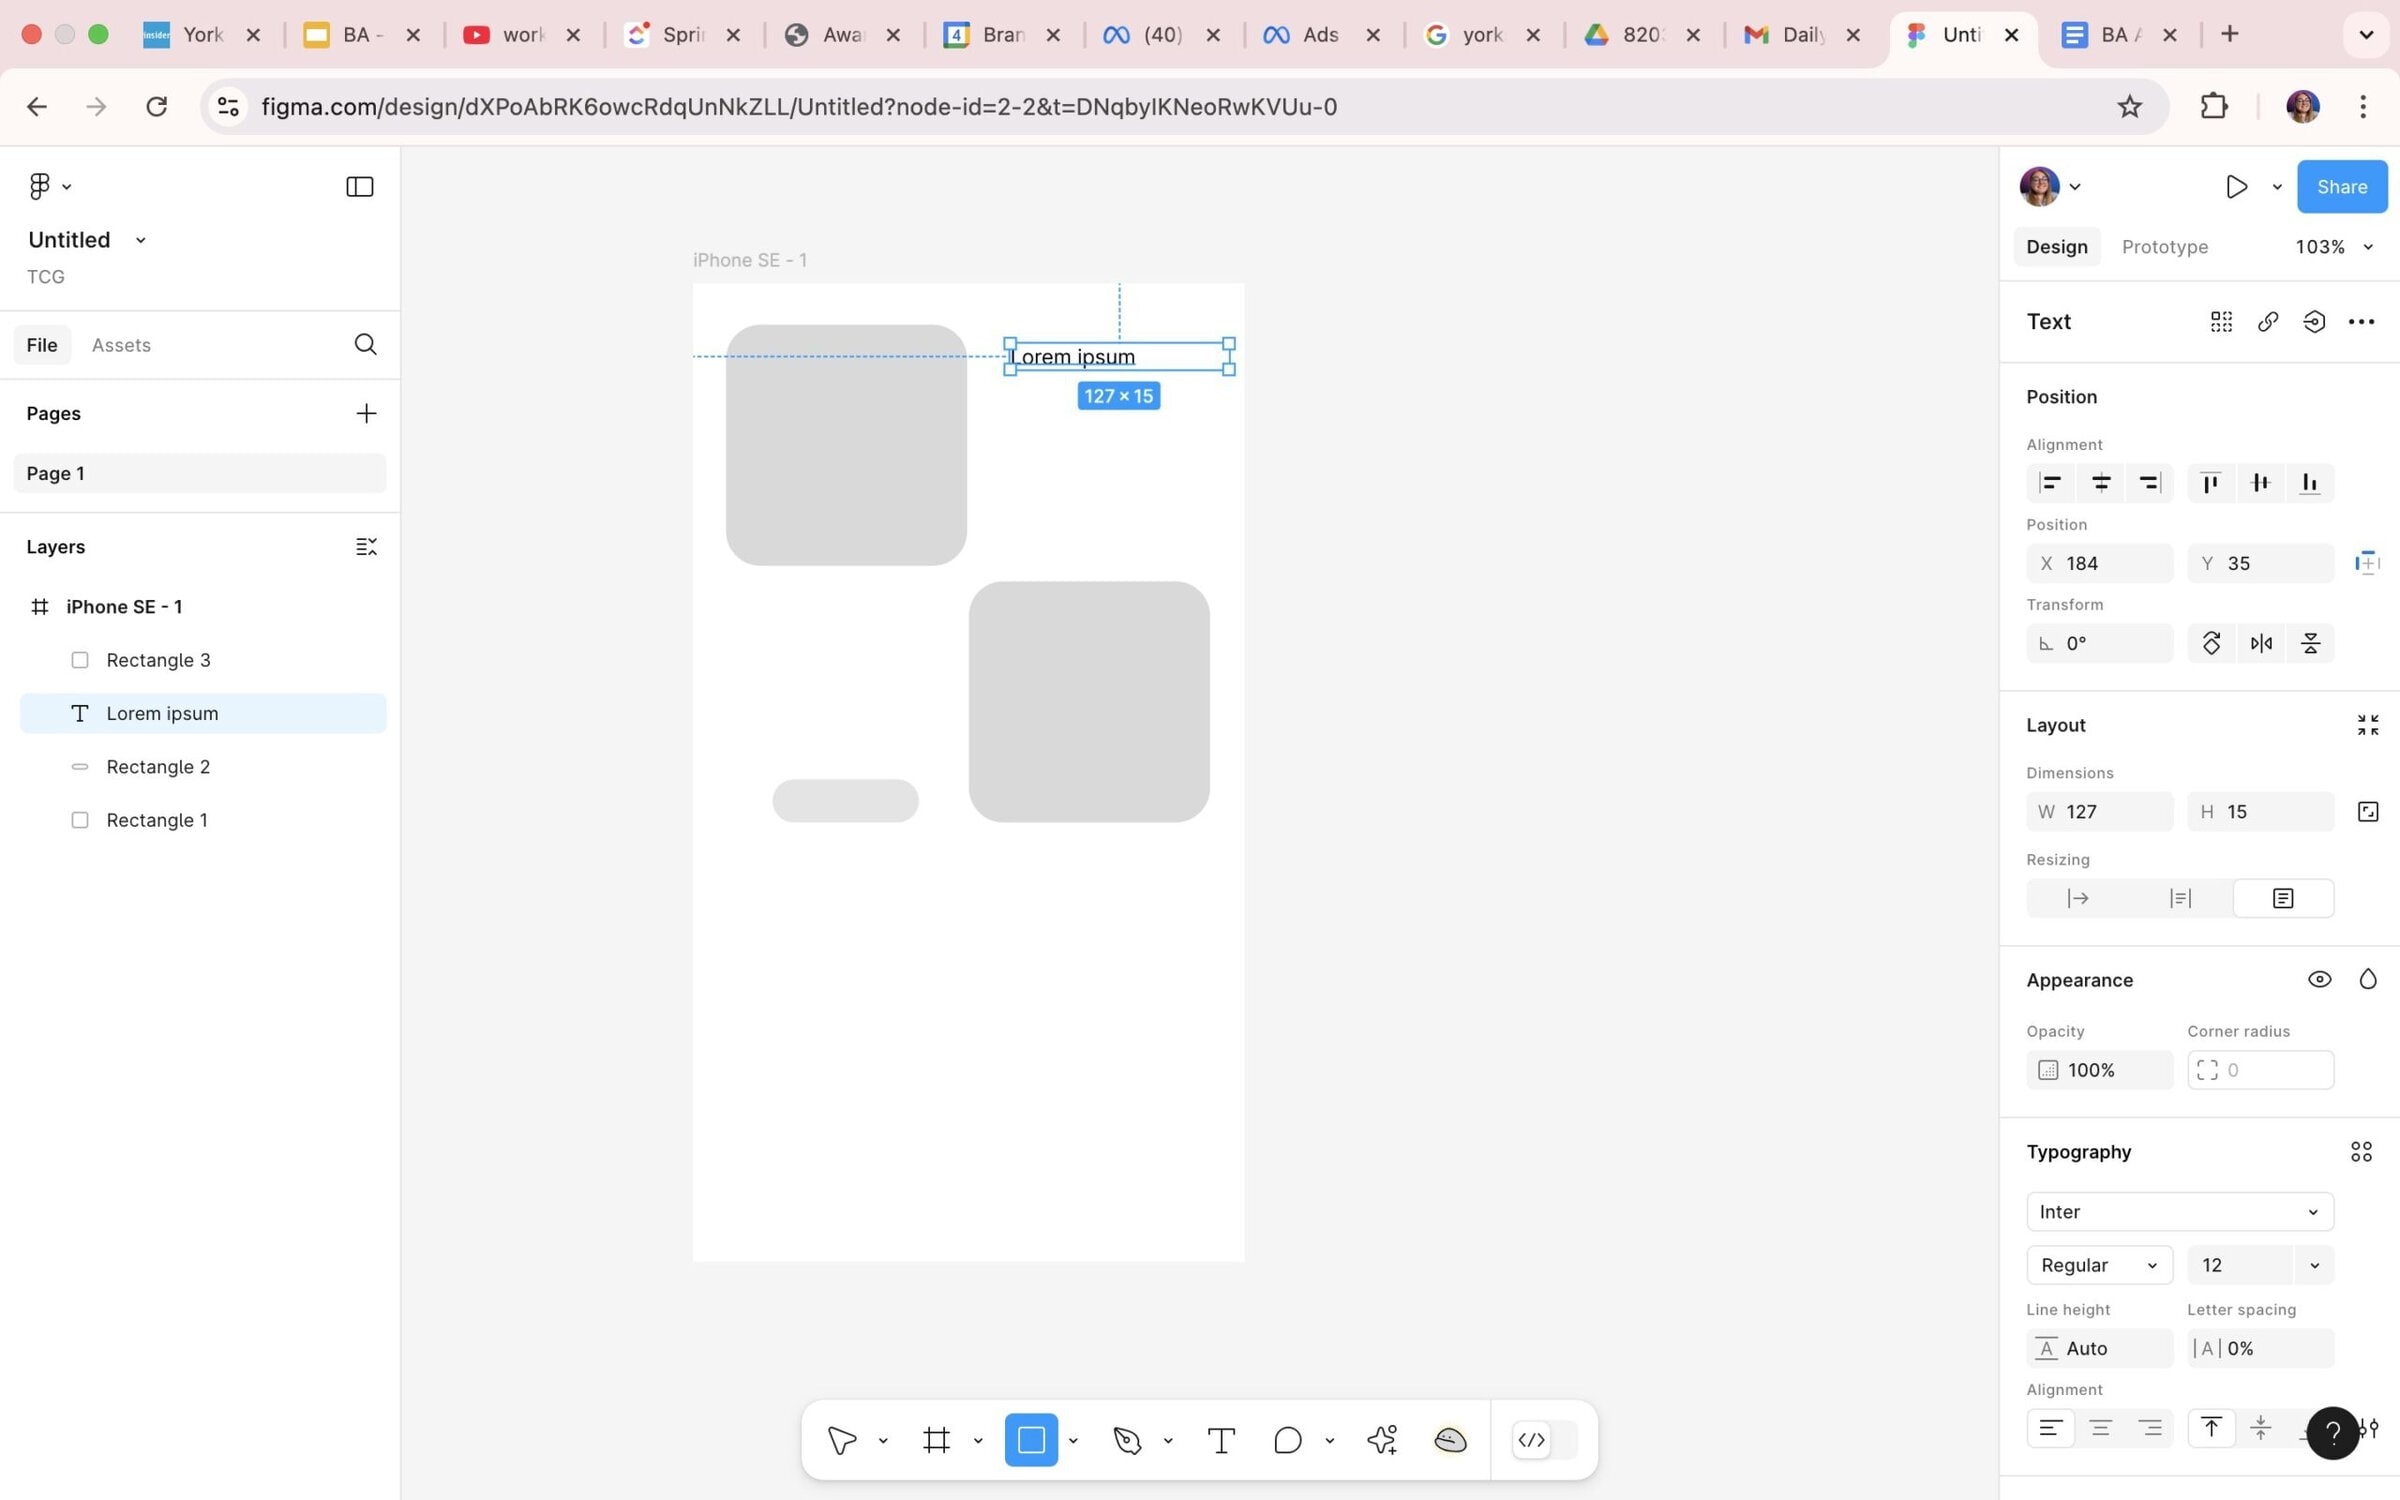
Step 2: Adding Shapes, Text, and Images
Now for the fun part—bringing your design to life!
- Shapes: Use the shape tool (R for rectangles, O for circles) and drag to create.
- Text: Hit T, click anywhere, and start typing. Adjust size, font, and alignment in the right-hand panel.
- Images: Drag and drop directly into your frame, or press Shift + Ctrl + K to import. You can also create a shape and replace the fill with an image (my go-to method).
One thing I love? Figma’s snapping guides. They keep everything perfectly aligned without the hassle of measuring manually — similar to Adobe’s smart guides.
Step 3: Making the Most of Components
One of Figma’s standout features is components: reusable design elements like buttons, icons, or cards.
To create a component:
- Select an element (e.g., a button).
- Press Ctrl + Alt + K (or right-click > ‘Create Component’).
Now, you can reuse this element across your designs. Even better, any changes to the original component automatically update all instances, saving you loads of time and keeping everything consistent.
Step 4: Real-Time Collaboration (That Took Me by Surprise!)
This is where Figma truly shines. Unlike Adobe, where you have to export and email files back and forth, Figma is cloud-based and multiplayer.
- Click ‘Share’ in the top-right corner to invite others.
- Teammates can comment, edit, or even design alongside you.
- Changes save automatically, no more ‘Save As’ nightmares!
I’ll admit, watching a client’s mouse whizz across my screen in real-time was a bit disorienting at first! But for remote teams, this feature is a game-changer.

Step 5: Prototyping Without Code
Figma makes prototyping seamless — perfect for UX/UI work.
- Click the Prototype tab (top right panel).
- Select an element (e.g., a button) and drag the blue circle to the frame it should link to.
- Choose an interaction (e.g., ‘On Click’ → ‘Navigate To’).
- Click Present (Play button in the top right) to preview your design.
No coding needed, just simple drag-and-drop logic. This feature is brilliant for testing designs before development and spotting potential issues early.
Will I Keep Using Figma?
Absolutely! Here’s what won me over:
✔ Easy to learn – I was up and running in minutes.
✔ Seamless collaboration – No more version control headaches.
✔ Lightweight and accessible – Works smoothly in the browser, no heavy downloads required.
If you’re a designer looking for a flexible, shareable, and collaboration-friendly tool, Figma is well worth a try. Whether you’re a complete beginner or a long-time Adobe user, it’s surprisingly easy to pick up.
So, if you’ve been debating whether to give Figma a go, just go for it! Take the plunge, and you’ll wonder why you didn’t try it sooner!